How to Request Payments
Request Payments over the Lightning Network.
In this guide, you will learn how to integrate and use our server-side SDKs to create a Lightning Invoice seamlessly.
Step 1
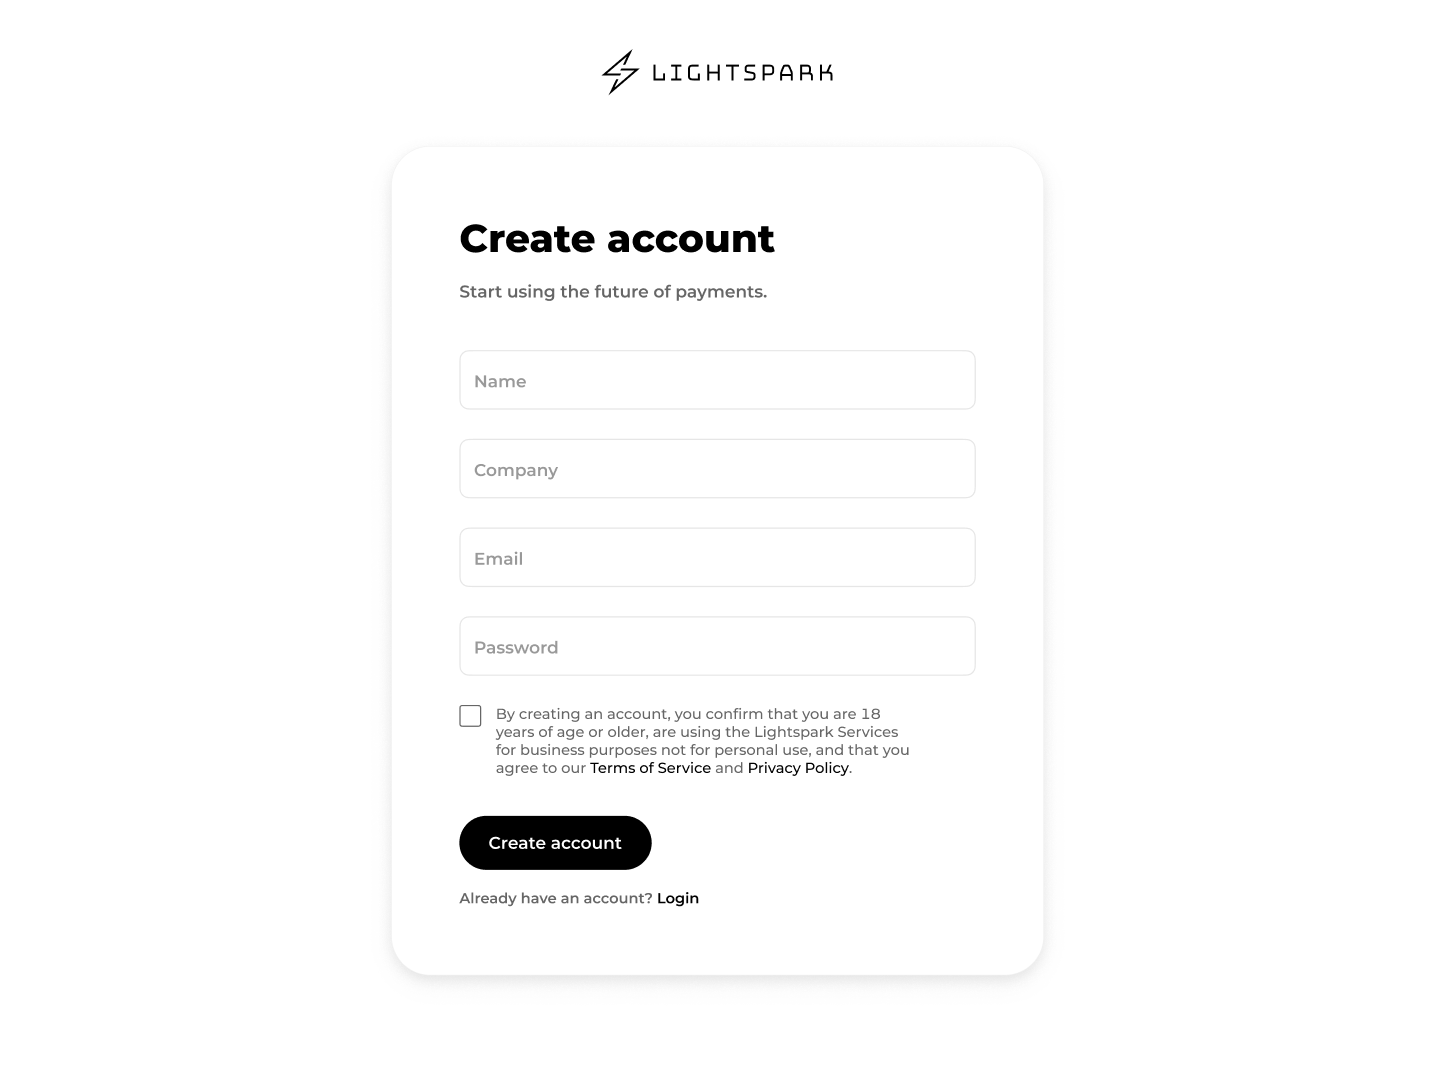
Open a Lightspark Account
Opening an account with Lightspark is fast and easy. Enter your name, your email, your company’s name and create a password and you’ll be able to instantly use our test mode and experiment with Lightning.
When you are ready to go live and switch to production mode, hit the toggle at the top of your dashboard. You’ll have to provide some additional information about your business and will be on your way to sending and receiving Lightning payments!
Step 2
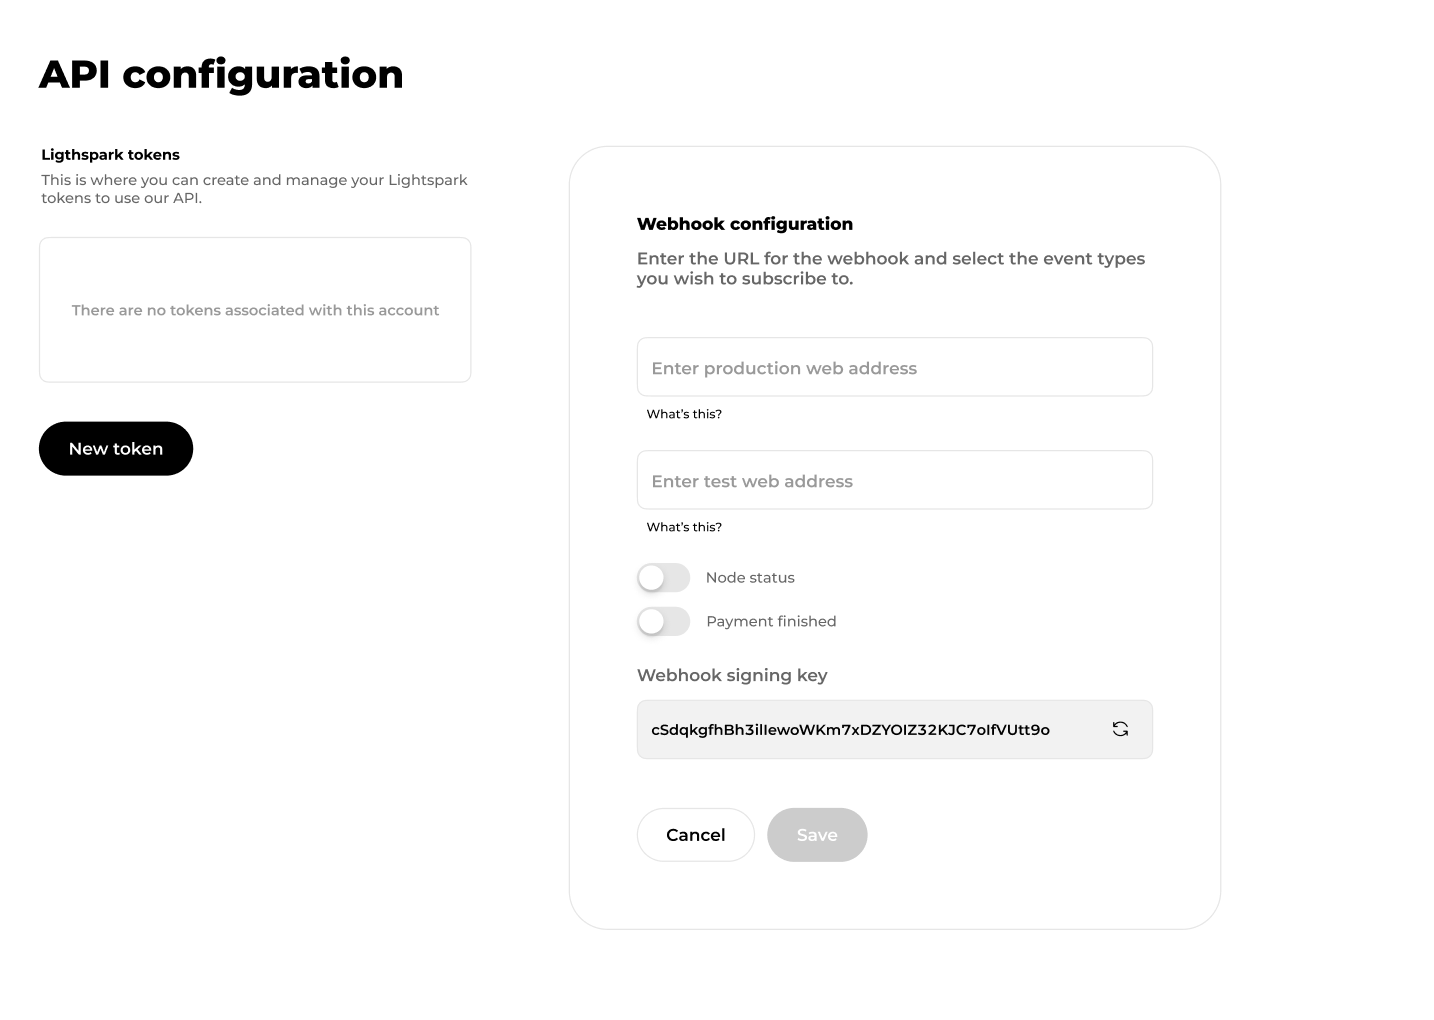
Generate a Lightspark Token
Once your account has been set up, head to the API Configuration page and generate a Lightspark Token.
Step 3
Install the Lightspark SDK
Install the Lightspark package and import it in your code. Alternatively, you can download the project files directly from our Github repository.
$ pip3 install lightsparkStep 4
Create a Lightning Invoice
Using our SDK library and your API Token, instantiate a Lightspark Client and create your invoice in a few lines of code.
import lightspark

client = lightspark.LightsparkSyncClient(
    api_token_client_id=os.environ.get("LIGHTSPARK_API_TOKEN_CLIENT_ID"),
    api_token_client_secret=os.environ.get("LIGHTSPARK_API_TOKEN_CLIENT_SECRET"),
)

invoice = client.create_invoice(
    amount_msats=42000,
    memo="Pizza!",
)

print(f"Congrats! Your first Lightning Invoice has been created! {invoice.data.encoded_payment_request}")You can safely send the encoded invoice to the person who should pay it via email, text message, a QR Code, etc. They can use any Lightning enabled wallet to pay you.
